
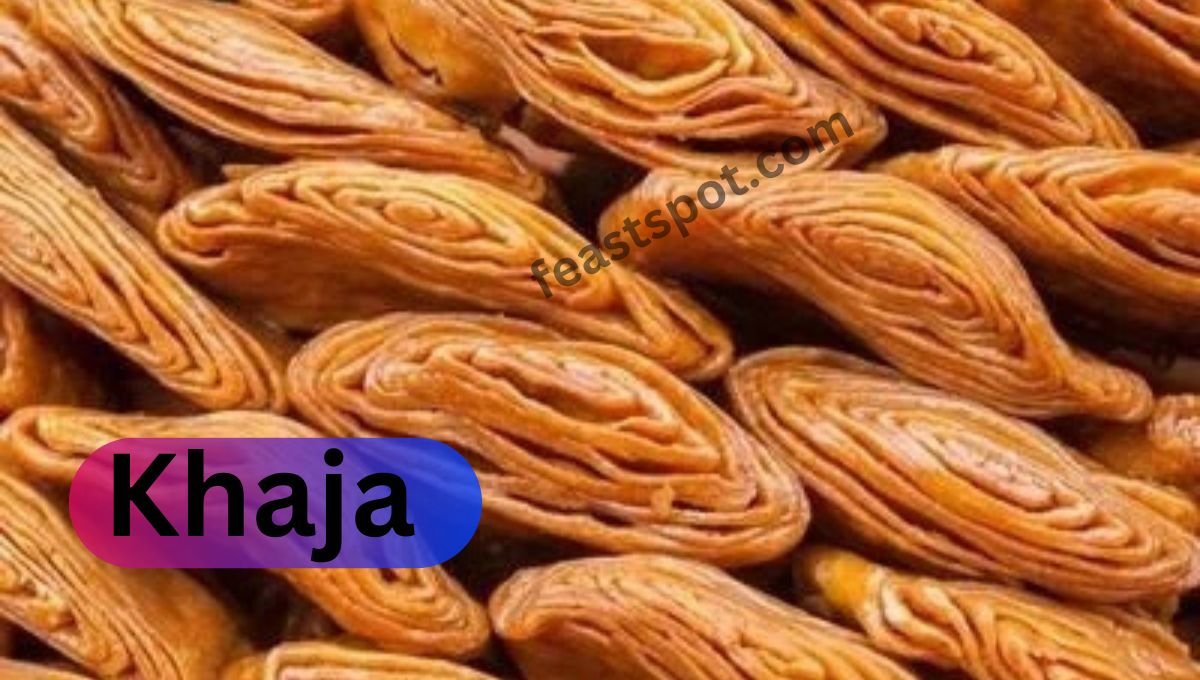
Khaja is one of India’s most beloved sweets, especially popular in states like Odisha and Bihar. It is famous for its crispy, flaky layers and the sweetness of the sugar syrup that soaks into the dough, creating a mouthwatering combination. If you’re wondering how to make this at home, this beginner’s guide will walk you through every essential steps-from ingredients to preparation, frying, and soaking. By the end of this post, you’ll know exactly how to make Khaja at home.

Table of Contents
Introduction
Before diving into the recipe, it’s essential to understand what makes Khaja such a cherished treat. It is a deep-fried dessert that consists of thin layers of dough stacked together, fried until golden and crispy, and then soaked in a flavorful sugar syrup. The result is a crispy, sweet dessert that’s perfect for festivals, special occasions, or even as a simple snack.
Khaja : One Of The Chhappan Bhog
It holds a sacred place in the offerings of world famous Sri Jagannath Temple Known as one of the Chhappan (56) Bhog offerings to Lord Jagannath,it has been an integral part of the Mahaprasad for centuries. The temple’s Khaja is prepared in the holy kitchens of Ananda Bazaar and is believed to be infused with divine blessings.

.Devotees visiting the temple often take it as prasadam, appreciating its crispy texture and rich, sweet flavor. Unlike the regular homemade versions, the temple Khaja carries a unique spiritual significance, making it a must-try for anyone visiting Puri.
My visit to Puri Sri Mandir was a deeply moving experience, and tasting the temple’s Khaja made me even more determined to recreate this divine sweet in my own kitchen. The crispiness, the perfect balance of sweetness, and the spiritual connection made it a moment to cherish forever. Inspired by this, I tried making it at home, refining the process until I achieved a similar texture and taste.
The beauty of Khaja lies in its texture crispy on the outside, soft and sweet on the inside. It’s an incredibly satisfying dessert to make and enjoy. In this guide, you’ll learn the step-by-step process of making Khaja at home with simple ingredients and easy-to-follow instructions. Let’s get started!
Ingredients To Make Khaja at Home
Before you can start making it, you’ll need to gather all the essential ingredients. Don’t worry .Most of these ingredients are readily available and easy to find.
For the Dough:
- 2 cups all-purpose flour (Maida)
- 1/4 cup semolina (Sooji)
- 1/4 cup ghee (clarified butter) or unsalted butter
- 1/2 teaspoon baking soda
- A pinch of salt
- Water (to knead the dough)
For the Sugar Syrup:
- 1 cup sugar
- 1/2 cup water
- 1/4 teaspoon cardamom powder (optional)
- A few saffron strands (optional, for added flavor and color)
For Frying:
- Ghee or oil (enough for deep frying)
These ingredients are enough to create the perfect batch. The dough is the foundation, while the syrup will provide the sweetness and flavor that make it so irresistible.
Preparing the Dough: Now that you have all your ingredients ready, it’s time to make the dough. The dough needs to be soft yet stiff enough to roll out into thin sheets, and this step is crucial for getting the perfect texture.
Step-by-Step Process to Make the Dough:
- Combine the Dry Ingredients: In a large mixing bowl, combine the all-purpose flour, semolina, baking soda, and a pinch of salt. Mix well so that the dry ingredients are evenly distributed.
- Add Ghee or Butter: Melt the ghee or butter in a microwave or on the stovetop. Add the melted ghee or butter to the dry ingredients. Using your hands or a spoon, mix it in until the mixture looks crumbly and well-combined.
- Knead the Dough: Slowly add water, a little at a time, and knead the mixture into a stiff dough. The dough should not be too soft or too hard. Aim for a medium consistency that holds its shape but is not too firm.
- Let the dough sit: Cover it with a damp cloth and allow it to rest for around 30 minutes.Resting the dough helps relax the gluten, making it easier to roll out later.
- Rolling and Shaping the Khaja Layers: Once the dough has rested, you’re ready to roll it out and shape the layers. This is one of the most important parts of the making process, as the layers give it its characteristic of flakiness and crispiness.
Step-by-Step Process to Roll and Shape Khaja:
- Divide the Dough: Divide the rested dough into equal-sized portions. You should aim for around 10-12 pieces, depending on how large you want your Khaja pieces to be.
- Roll Each Portion: Take one portion of dough and roll it out into a thin sheet. The thinner you roll the dough, the crispier your Khaja will be. Try to roll each piece to a thickness of about 1 to 2 millimeters.
- Layer the Sheets: Once you have several thin sheets, stack them on top of each other, brushing each sheet lightly with ghee or butter. This layering technique is key to creating the crispy, flaky texture that it is known for.
- Roll the Sheets Into a Log: After stacking, roll the sheets up tightly into a log or cylinder shape. Be sure to roll it tightly so that the layers stay together during frying.
- Cut Into Pieces: Once the dough is rolled into a log, cut it into small, bite-sized pieces. Carefully roll each piece, ensuring the layers stay intact inside. These pieces will be those that you fry and soak in syrup.
Step-by-Step Process to Fry the Khaja:
- Heat the Oil: Heat ghee or oil in a deep frying pan over medium heat. You can test the oil by dropping a small piece of dough into the pan. If it rises to the surface immediately, the oil is ready for frying.
- Fry the pieces: Gently drop the pieces into the hot oil, a few at a time. Avoid overcrowding the pan. Fry the them on low to medium heat, turning occasionally, until they are golden brown and crispy on all sides.
- Drain Excess Oil: Once fried, remove them from the oil and place them on a plate lined with paper towels to drain excess oil. This helps keep them becme crispy and not greasy.
- Making the Sugar Syrup for Khaja
The sugar syrup is what gives them their signature sweetness and sticky texture. Making the syrup is simple, but it’s important to get the consistency just right—too thin, and it won’t coat the Khaja properly; too thick, and it will be too sticky.
Step-by-Step Process to Make the Sugar Syrup:
- Combine Sugar and Water: In a separate pan, combine sugar and water. Heat the mixture over medium heat, stirring occasionally, until the sugar completely dissolves.
- Add Cardamom and Saffron: For added flavor, you can add cardamom powder and saffron strands to the syrup. These ingredients are optional but add a lovely aroma and color to the syrup.
- Cook the Syrup: Let the syrup cook for about 5-7 minutes. You want it to reach a slightly thick consistency, but not too syrupy. If it becomes too thick, you can add a little more water to adjust.
- Cool the Syrup: Once the syrup has reached the desired consistency, remove it from the heat and allow it to cool for a few minutes. It should be warm when you dip them.
- Soaking the Khaja in Syrup:
Once your Khaja is fried, it’s time to soak it in the warm sugar syrup. This is what makes the Khaja sweet and sticky, and it gives the treat its final flavor.
Step-by-Step Process to Soak the Khaja:
- Dipping in Syrup: Take the fried pieces and dip them into the warm syrup one by one. Let each piece soak in the syrup for 5-10 seconds.
- Let Excess Syrup Drain Off: After dipping them in the syrup, let any excess syrup drip off. This will ensure they aren’t too soggy.
- Cool and Serve: Place the soaked Khaja on a plate and let it cool. As it cools, the syrup will harden slightly, giving them the perfect sweetness and texture.
Serving and Storing Khaja
Your homemade Khaja is now ready to be served! It can be enjoyed as a snack, dessert, or a festive treat.
Serving Tips:
- Make it at home and Serve it fresh for the best flavor and crispiness.
- Garnish with chopped nuts like almonds or pistachios for an added crunch.
- Pair it with a hot cup of tea or coffee for a delightful experience.
Storing Khaja:
It can be stored in an airtight container for up to a week. Make sure to store it in a cool, dry place to maintain its crispiness.
To explore more of my recipes, click the link below:
feastspot.com/pakhala-simple-steps-to-make-this-comfort-food/↗
https://feastspot.com/delicious-green-chutney-for-paratha/
Conclusion:
Enjoy Your Homemade Khaja
It is a fun and rewarding experience. With these easy steps, you can create a delicious, crispy, and sweet treat that’s perfect for any occasion. Whether you’re making it for a festival or just as a special snack, it’s sure to be a hit with family and friends. So, gather your ingredients, follow the instructions, and enjoy the process of making Khaja at home!
FAQs
How can I make khaja without a deep fryer?
To make khaja without a deep fryer, you can shallow fry it in a heavy-bottomed pan. Heat oil in the pan and fry the khaja pieces in batches on medium heat until they turn golden and crispy. Make sure the oil is at the right temperature to avoid sogginess.
What are the common mistakes to avoid when making khaja?
Some common mistakes when making khaja include using too much flour, which can make the dough dense, or overcooking the syrup, which can make it too thick. Also, frying at low temperatures can result in oily khaja, while frying at too high a temperature can burn it. Ensure your dough is smooth and the oil is at the right temperature for the perfect khaja.
How long does it take to make khaja at home?
It takes around 45 minutes to 1 hour to make khaja at home, including the time for preparing the dough, rolling, frying, and making the sugar syrup. The preparation time can vary depending on your experience and efficiency in the kitchen.
Can I make khaja at home with whole wheat flour instead of refined flour?
Yes, you can make this dish at home with whole wheat flour, which will give it a slightly different texture and flavor. Whole wheat flour will make this a bit denser but also adds a healthier, more rustic touch to the traditional recipe. Just be sure to adjust the water quantity to get the right dough consistency.
😋 delicious
Thanks
Without Sugar Syrup # Namakeen khaja try kara.
Great idea! Thank you!
delicious khaja
Khaja is emotion for us. Thank you for writing about this delicious sweet with its traditional way of making.
Glad you feel the same! Khaja truly holds a special place in our hearts.